Below you will learn the best way to saw straight with a handsaw. Be aware that it will take time and experience to learn how to cut timber straight. But you need to learn this if you want your timber to have square joints for your carpentry projects.
You are about to learn the main areas of a handsaw as well as which one is the best to use for various tasks. Most of all, there are cutting tips that will teach you the right way to cut straight on your timber material.
This might sound easy, but it will take a lot of practice before you get it right. This is the same with every woodworking task.
Handsaw: The Parts
You may be able to use a handsaw without knowing its parts. However, if you want to use a handsaw more professionally, it is important to learn these parts so that you can better understand the instructions on how to use it.
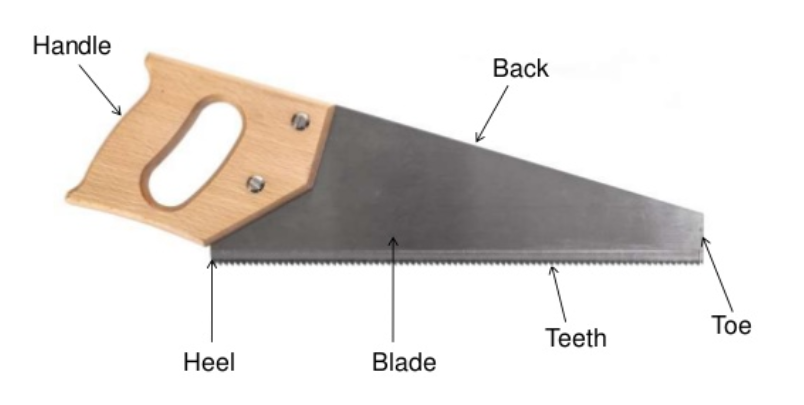
The following are the most commons parts found on a handsaw:
Toe – The toe is on the opposite end from the handle. It is the very top of the blade.
Heel – The widest part of the saw blade which touches the handle.
Handle – You hold the saw from the handle end. The classic saw handles use to be wooden, but the newer ones use many different materials. Saw nuts are used to screw down the slots of the saw blade into the handle. This is how they stay attached.
Blade – This is the actual part which cuts the material. Blades come in many different shapes and sizes. The saw-type is what determines which kind of blade you get. Most saws have steel blades while others have special alloy material in the blade. The cutting area of the blade will normally have teeth.
Back – The back is opposite from the cutting side of the blade. It may have reinforcements to straighten the blade as you’re sawing something. If there are no reinforcements, the back is meant to pass through the material that you saw.
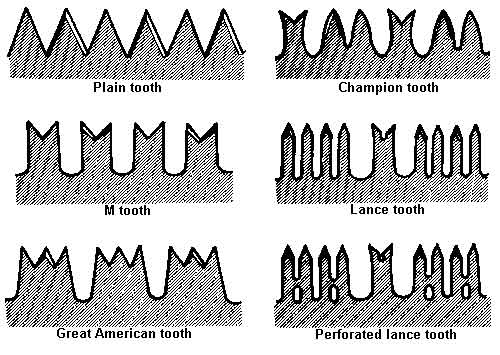
Teeth – This is the cutting area of the blade. It features a line of several teeth along the edge of the blade. The exact number of teeth will vary based on the size of the blade. It is calculated by “teeth per inch.”
If there are fewer teeth, then it will be a rougher cut. If there are 6 to 10 teeth per inch, then you probably have a rip saw. If there are more than 14 teeth per inch, then it is suitable for cutting along the wood’s grain. On average, a saw will have anywhere from 10 to 14 teeth per inch. This can accommodate most cuts.
Pinch – Older saws had teeth which were offset on the left and right from one another. This is referred to as the pinch. They were designed that way to make them easier to sharpen.
Modern saw manufacturers just use tempered steel or hardened steel to design their saws. This automatically makes them remain sharp for a longer period of time. You do not sharpen them yourself.
Gullet – The gullet is the area between the left and right offset teeth. If you cut wood with a saw that has a big gullet, then the sawing will be faster. Plus, a bigger wooden piece will be removed with each stroke of the blade.
Kerf – Kerf refers to the width of the saw blade. This will be the same width that you cut into the wood.
Handsaw: Getting a Straight Cut
The teeth of the saw are angled apart from one another. That is how it can cut through the wood so easily. The cut is also made very wide which prevents the blade from sticking. However, this will only happen if you cut completely straight. If you are not cutting in a straight line, then the blade will stick.
There are two mistakes which people can make that will turn an easy job into an impossible one. The first mistake is not securing your wood and the second mistake is not getting into a good cutting position.
Secure the Wood Prior to Cutting
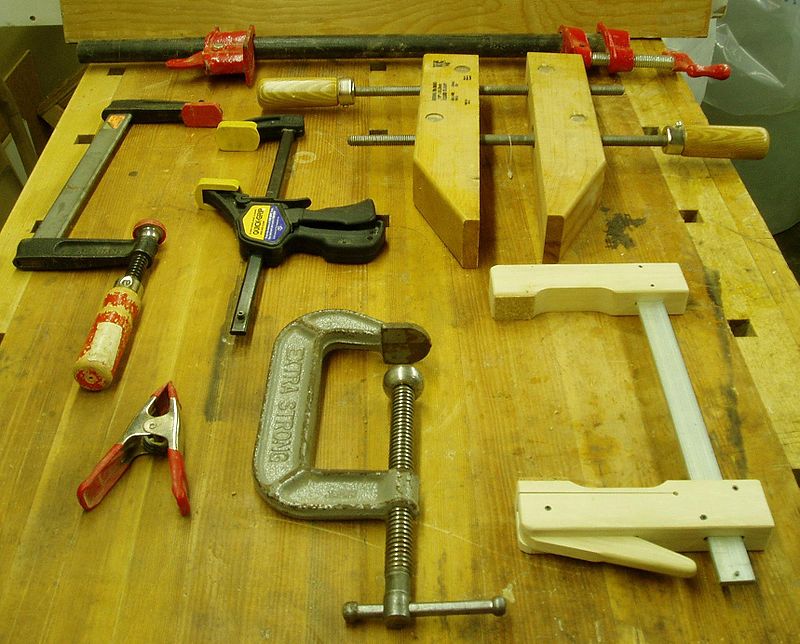
You need to secure your workbench and the material that you’re cutting on it. If there is a little giggling or rocking of the workbench, the saw will not cut the material properly. The workbench platform needs to be solid. If you have a clamp on your workbench, use it to hold the wood tightly in place.
Your Cutting Position Must Be Good
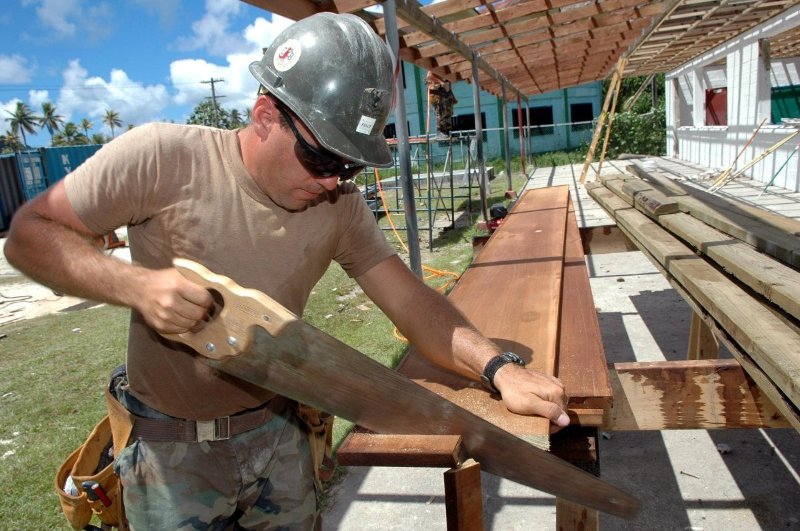
Position yourself right over the material that you are cutting. You’ll want each of your eyes to see one side of the blade. This will give you a 90-degree cut to the wood. If you get too far to one side, then you’ll cut too much at an angle.
Power tools will speed up the cutting process if you are experienced. If you make a little mistake with power tools, it will ruin the whole project. Hand saws at least let you get away with a little slippage here and there. You can always just sand any small cutting mistakes like those. But if you’re cutting with a big circular saw and you slip, then you have a big cutting mistake.
Push Cut Saws vs Pull Cut Saws
There are push cut handsaws and pull cut handsaws. The former requires you to push the saw to cut and the latter requires you to pull for cutting. Some newer saws are made to cut both ways, but they are not as popular.
The type of saw determines which one it will be. Japanese saws are usually pull cut and European saws are usually push cut. Coping saws and other saws with delicate thin blades will be pull cut because it is easier to control the cutting that way.
Professional woodworkers will often debate over whether pull cut is better than push cut and vice versa. The type of cutting action has a lot to do with the accuracy of the cutting, the power that goes into it, and how thick the cut will be. Pull cuts are generally believed to be not as powerful, but able to produce finer cuts.
Handsaws: Types Available
Each type of handsaw is suitable for a particular type of project. Some handsaws may be used for multiple types of projects, but it is better to gain knowledge of which projects the different handsaws are used for and why. This is the only way you will choose the best handsaw for your project.
Cross Cut & Rip Cut
Some saws are rip cut and others are cross cut. If you want to cut across the wood grain, use a cross cut saw. If you want to cut with the wood grain, use a rip cut saw. The rip cut will be tougher, though, because it will usually have under 10 teeth per inch. A cross cut saw has more than 14 teeth per inch.
Jack Saw
A jack saw is known as a universal saw which can cut most pieces of timber. It can produce a rip cut or cross cut by pushing the blade. Before you purchase a jack saw, take note of the teeth per inch and make sure it is suitable for the project that you’re going to do. They will typically have between 10 to 14 teeth per inch, which is suitable for most cutting types. If you’re cutting timber that is wet, you might want a saw which is specially coated to prevent rust on the blade.
Coping Saws & Fret Saws
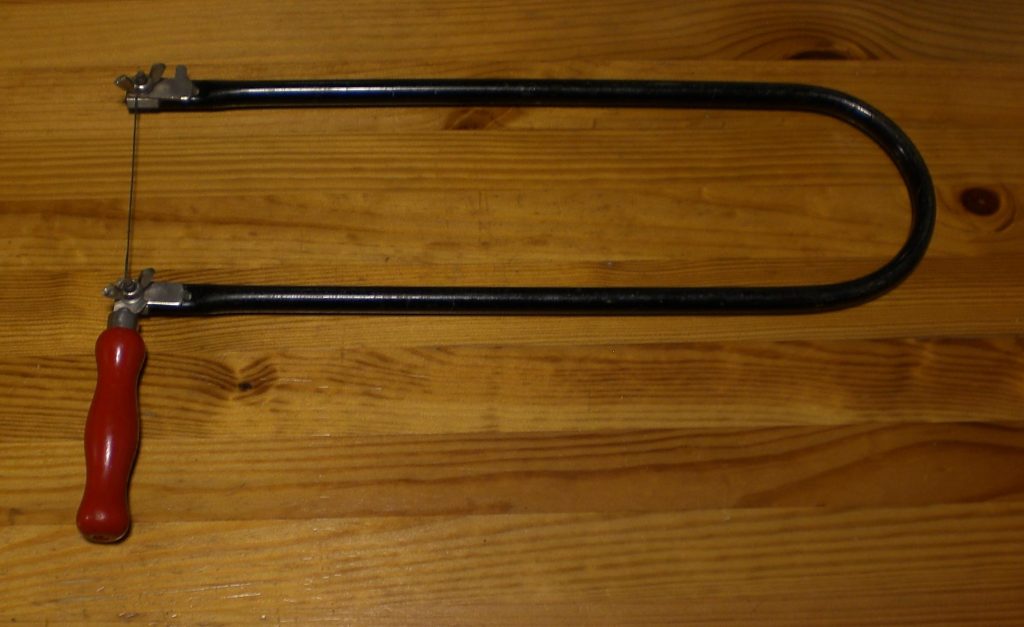
If you need to fine cut unusual shapes in your wood or go around curves, then you will want a coping saw. If you want an even finer cut, then use a fret saw.
Tenon Saw
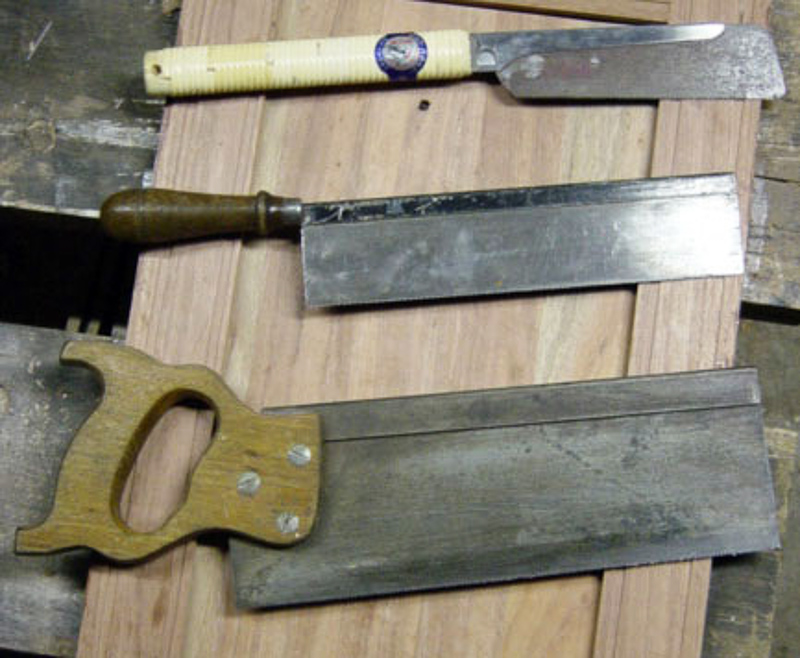
The back of the tenon saw is very strong and durable. This makes the saw blade less flimsy and more rigid. The benefit here is that you can cut more precisely. If you are trying to make tenon joints or mortise, then you will appreciate this kind of precision.
A mitre block is often used with the tenon saw so that wood can be cut on angles. There are extremely fine teeth on the tenon saw. They may be rip cut or cross cut teeth. The choice you make should be determined by your specific project.
As far as back saws go, the most popular is the tenon saw. But you can find other back saws on the market. If you want to do finer cuts, then use the dovetail saw. Below is more information on the 4 most common back saws.
- The tenon saw has a blade that is between 16 and 20 inches in length. The thickness of the blade is 0.032 inches and the teeth per inch are 10.
- The sash saw has a blade that is between 14 and 16 inches in length. The thickness of the blade is 0.028 inches and the teeth per inch are 11.
- The carcass saw has a blade that is between 10 and 14 inches in length. The thickness of the blade is 0.025 inches and the teeth per inch are 12.
- The dovetail saw has a blade that is between 6 and 10 inches in length. The thickness of the blade is 0.022 inches and the teeth per inch could be anywhere from 14 to 18.
Veneer Saw
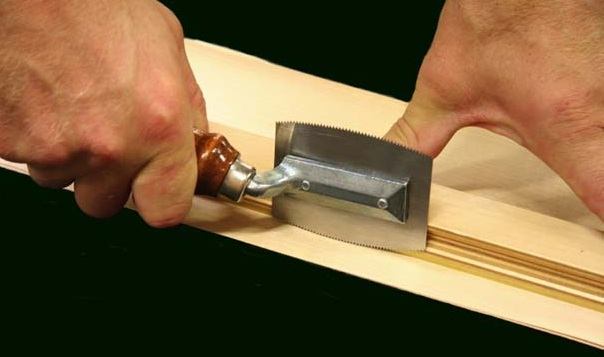
The veneer saw has two small edges which makes it suitable for cutting wooden veneers that are thin. The saw will give you the finest outcome that you could ever want. The teeth themselves are also fine along the cutting edge of the blade. However, do not expect the blade to be thin like its teeth are. The veneer saw is different than a pull saw.
Pull Saw
A Japanese saw and pull saw are very similar saws and are two terms which are often used interchangeably. But a Japanese saw is a bit different because its blade is more flexible, its teeth are finer, and the blade and handle are inline with each other.
A pull saw could simply be a saw that uses a pull stroke for cutting. On the other hand, pull saws can also have flexible blades and fine teeth too. If you need to make fine cuts with pull strokes, you might want to use a pull cut because it will give you better control over it.
Bow Saw
If you are cross cutting branches or green wood, then use the bow saw. You can make curved or straight cuts with it, but you won’t have much precision in your cuts.
Mitre Saws
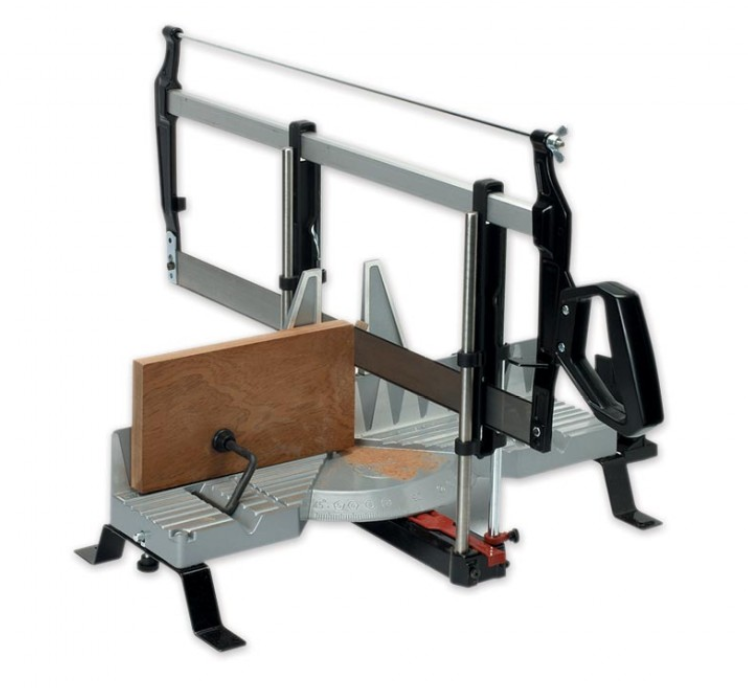
The mitre saw is specially designed for cutting wooden material at precise angles. The mitre saw is actually a system which lets you use other saws for this kind of cutting, such as a tenon saw. If you want the saw to be guided so that it makes a right angle, you can use the mitre block which comes with it.
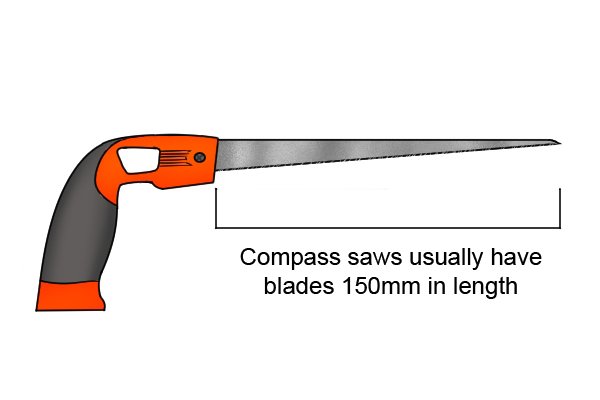
Compass Saw
If you need to cut curves in your wood, the length thin blade of the compass saw will do the trick. If you are installing pipes or cables into a wooden surface, then a compass saw would be the most useful tool for cutting holes in it. Plumbers and cable installers often work in confined spaces which can make cutting strange shapes a challenge.
The compass saw is very small and versatile, so it comes in handy while having to cut in these types of environments. They can even cut other materials besides wood as well.
There are so many different types of saws available which are each suitable for various types of wood cutting tasks. If you are cutting material other than wood, then there are different types of saws for those materials too.
By this point, you should know how to use a handsaw to cut straight into a piece of wood. You should also have a pretty good idea of how to choose other types of saws for different woodworking projects. This knowledge is invaluable for achieving your desired results from a project.

